
via HONEY ROCK DAWN by shreve on 6/6/11
Ten years ago, I read a profile in The New Yorker about a cheesemaking nun. I have always remembered the piece, the accompanying photograph (just found it online!), and the profound feeling it left me with: I was like, that's what I want to be when I grow up.
I've now taken the first step down that path. I have made my first cheese.
(I don't count my previous failures as cheese. They were failures.)
(I don't count my previous failures as cheese. They were failures.)
Cheese, on the one hand, is complicated and intimidating. On the other hand, it is simple and intuitive. I'm quite certain that milk wants to become cheese. Through my failures, I have realized the most important part about making good cheese is to take it slow. Respect the milk. DO NOT RUSH THE MILK. And the cheesemaking books never tell you this, at least not the ones I've read. And the cheesemaking websites act like you must shell out hundreds of dollars on specialty supplies if you wish to make cheese. Rubbish. A basic stainless steel pot will do the job just fine, or, in a pinch, a calf's stomach ~ people have been making cheese for thousands of years, long before fancy accoutrements existed.
Last year, I tried to follow the rules and ended up with so many cheese failures that I had given up. But when I started milking Daisy again last week, and found that familiar surplus overtaking my fridge ~ multiple gallons of milk that we couldn't possibly drink ~ I decided to try again. I needed something simple and gentle and intuitive to ease me back onto the cheese path. In a case of perfect timing, I was inspired by this post on a blog I enjoy. Since I only had fresh milk on hand, I altered her technique just slightly and the results are incredible.
OK! On to the cheese!
It starts with one gallon of milk.
It starts with one gallon of milk.
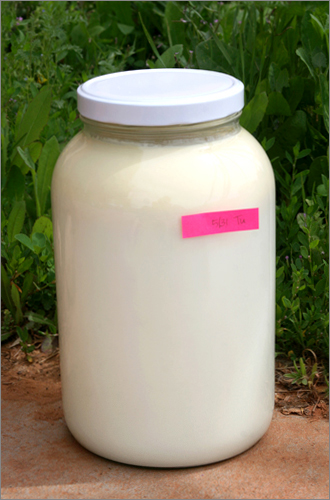
This is fresh milk from my cow. This particular gallon is the equivalent of whole milk; I placed the pink tab at the cream line in case it didn't show up in the photo. If you're using store-bought milk, I think using 2% and maybe even nonfat would be fine, though I've not tested it out. You certainly don't have to start with a gallon. For my first batch I used half a gallon of milk but Mike and I loved the resulting cheese so much I went for a gallon this time.
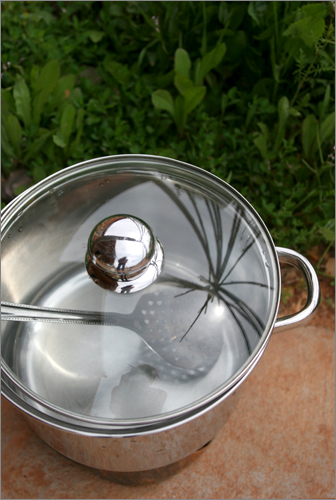
You will also need a pot and a spoon and a lemon and a thermometer.
That's it.
That's it.
I plugged my hot plate into an extension cord and brought it outside because it was a beautiful day and I prefer being outdoors.
Pour the milk into the pot, cover, and set over low to medium-low heat. LOW TO MEDIUM LOW. Stir the milk every now and then; I found that just rocking the pot with the lid on did the job well. Heat the milk to 170-175 degrees Farenheit. This takes a long time at medium low heat; I timed this batch and it took three hours. However, do not rush this part. If you do, your cheese will be gummy and flavorless.
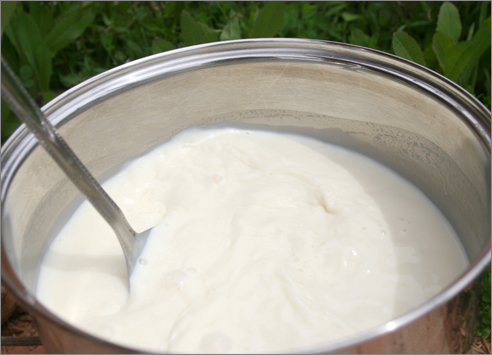
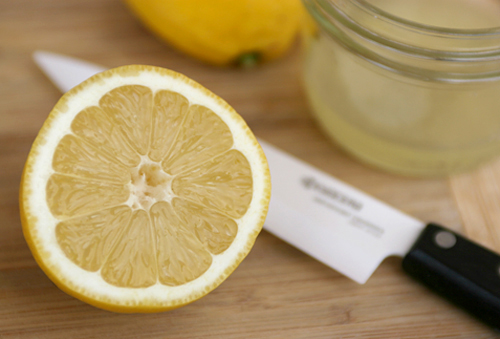
Once your milk reaches a temperature of 170-175 degrees, squeeze the juice of a lemon into a cup and slowly pour it into the milk while stirring. When I used a half gallon of milk, I used the juice of half a lemon (about 3 Tablespoons) and with a gallon of milk, I used a whole lemon.
Almost immediately after adding the lemon juice to the milk, it will separate into curds and whey.
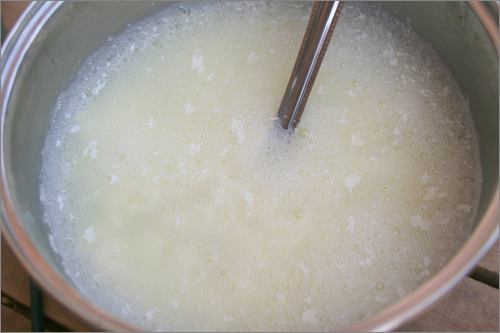
At this point, take the pot off the heat and let it sit for a few minutes just to give the curds time to separate from the whey.

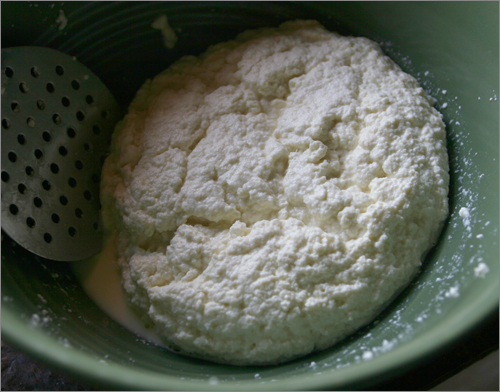
Scoop the curds into a bowl; you could also pour through a tight strainer. I just spoon the curds into a bowl and then mash them with the slotted spoon to press out any remaining whey. At this point, you can add salt, herbs, garlic, whatever you fancy. Just mix it in to the curds and taste as you go.
And this is cheese! You could put it in a square of cheese cloth (not the whispy kind; real cheese cloth has a tighter weave, like flour sack cotton) and hang it to drain all the whey for a harder cheese, but I just mash out whatever whey I can, then pack the soft cheese into pint jars. The miniscule amount of remaining whey does not adversely affect the cheese, and I noticed it fully integrates back into the curds and kept it soft and creamy.
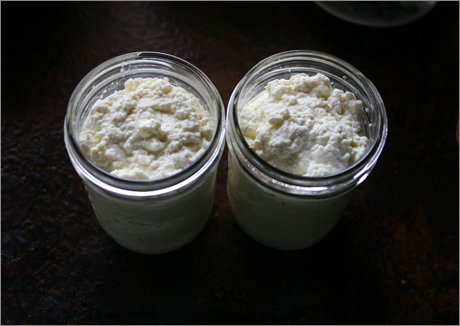
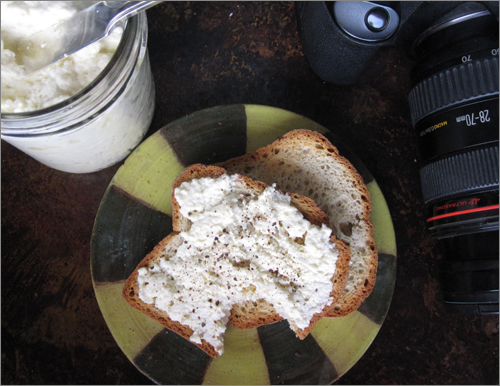
One gallon of milk makes two pint jars of cheese. It stores well in the fridge and the consistency is amazing and hard to describe - it's dense but spreadable and creamy. I like it with a little pink himalayan salt mixed in, spread on toast with fresh ground pepper on top. Try it - and leave a note in the comments telling us how it went! It's really easy. And REALLY good.
No comments:
Post a Comment